Making zines can be a fun and creative process! Zines are short, pocket-sized, self-published publications made by individuals, or sometimes in small groups on a common theme. They can cover a wide range of topics, from personal stories and art to political commentary, music, food, travel, mental health, poetry and DIY guides.
Here’s a step-by-step guide to help you create your own zine:
- Decide on the theme: Choose a topic or theme for your zine. It could be anything you’re passionate about or interested in sharing with others. The possibilities of the theme and topic are endless. You can write about anything and everything. If not write, you can draw, create a zine using photographs, magazine cuttings, or simple colours – just tell your story!
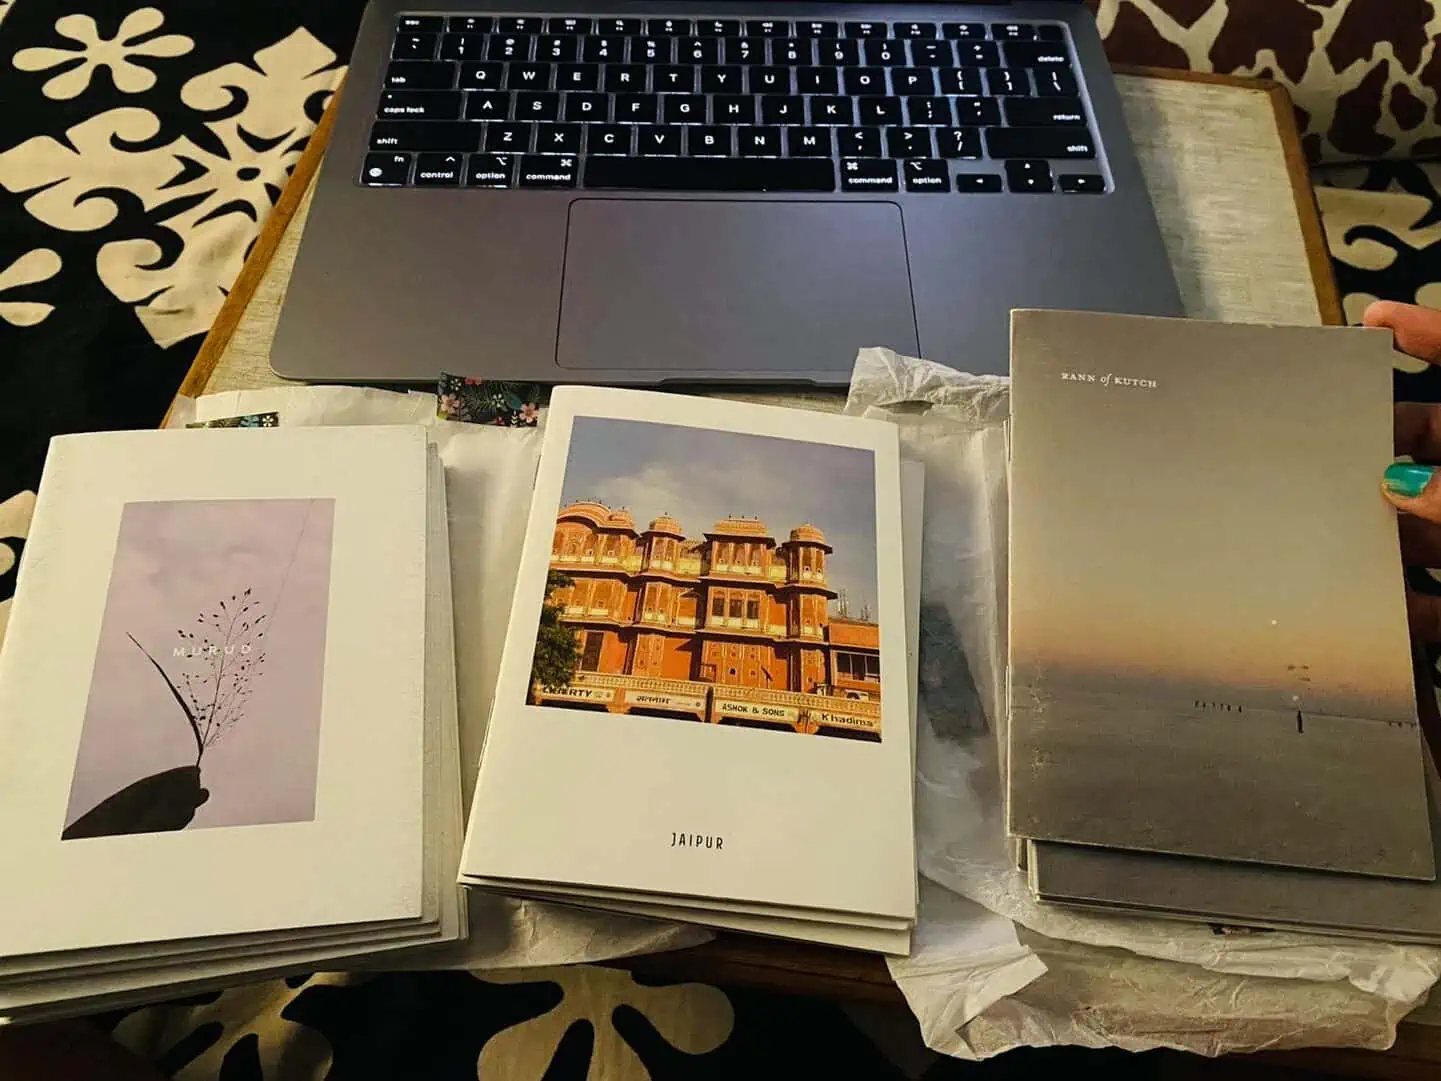
- Format and layout: Determine the size and layout of your zine. Again, the possibilities are endless. Zines can be as tiny as the size of your pinky finger, or even be an A4 size zine. Decide how many pages you want your zine to have and plan the content accordingly.
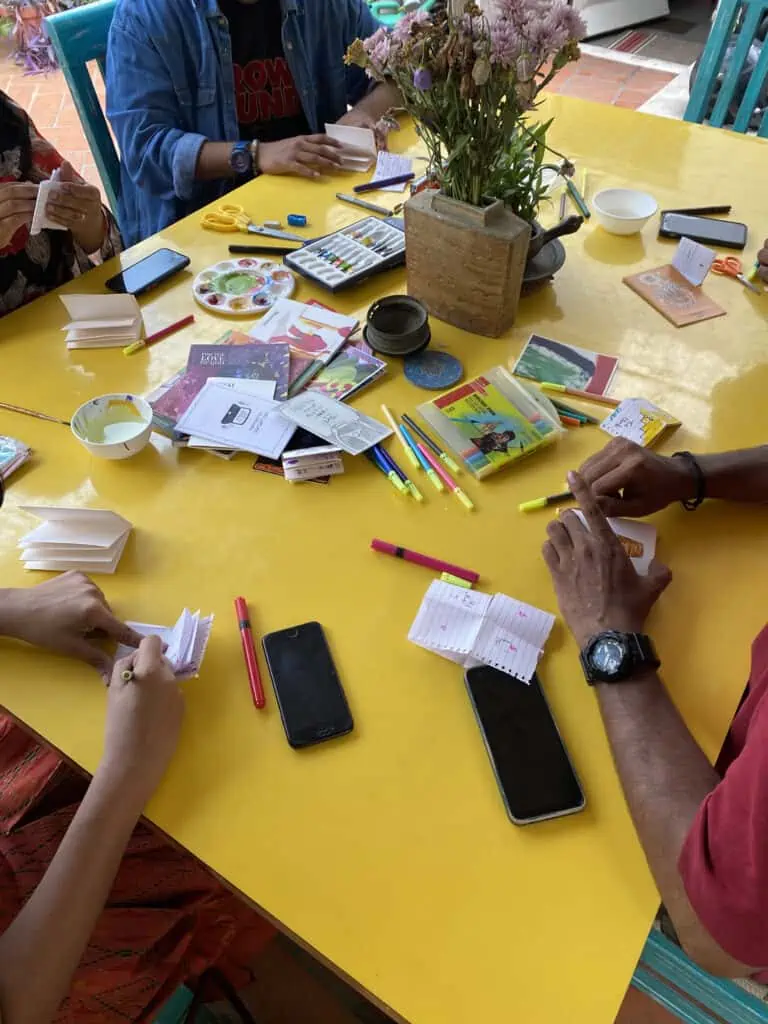
- Content creation: Create the content for your zine. You can include written articles, poetry, artwork, photographs, collages, comics, or anything else that fits your theme.
4. Design and layout: Use a graphic design software or bring out your stationery/art kit to design the layout of your zine. Arrange the content, images, and text in a visually appealing way.

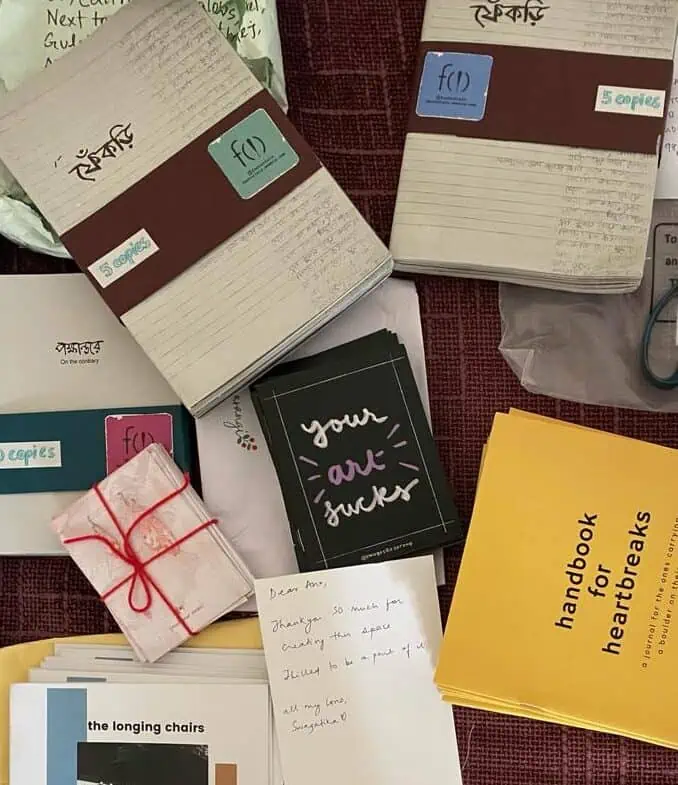
5. Printing: Once your design is ready, you can print your zine. If you have access to a printer, you can print it at home. Alternatively, you can use a local print shop or online printing services to get your zine professionally printed. Alternatively, if you’re planning to make a handmade zine, repeat the above steps until you have approx. 15-20 zines. Yes, it may sound tedious, but the outcome is totally worth it! Better still, zines are meant to be inexpensive, photocopied versions of your story.
6. Folding and binding: After printing, you’ll need to fold the pages to create the zine’s structure. Most zines are made by folding a single sheet of paper multiple times. You can also use a saddle stitch (stapling the centerfold) or other binding methods like sewing or gluing depending on your preference and resources.
7. Distribution: Decide how you want to distribute your zine. You can hand them out at events, leave them in public spaces, trade them with other zine-makers, or even sell them online or at local shops. You can also collaborate with zine marketplaces like Bazinega, become a Baz Buddy, send them your zines, and let them take care of marketing, distribution, shipping, and payments.
8. Copyright and credits: If your zine includes content from other creators, make sure to properly credit them and ensure you have the right to use their work. Consider adding a copyright notice to protect your own content.
Zines are all about self-expression and creativity, so there are no strict rules. Zines are, perhaps, the most free form of expression. So, explore, experiment, and express yourself without the fear of censorship, judgment, or advertisement spam. Have fun, and let your imagination guide you!
 Aditi Elassery
 Ano Patel
 Antara Pain
 Ayan Farooqui
 Ayushi Singhal
 Bad Press
 Hand Jobs Inc.
 Hansika Jethnani
 Madhurima Das
 Kishore Amruth
 Mrunal Kulkarni
 Neha Shetty
 Nikhil Poddar
 Parvathy Subramanian
 Pooja Dhingra
 Poojana Prasanna
 Preston Olakatu
 Rohini Kejriwal
 Ruchita Madhok
 Saloni Mahajan
 SillyBillyCircus
 Soumya John
 Soundarya Gottapu
 Sreehari Siva
 Swagatika Sarangi
 Tilottama B
 Vaishali Soni